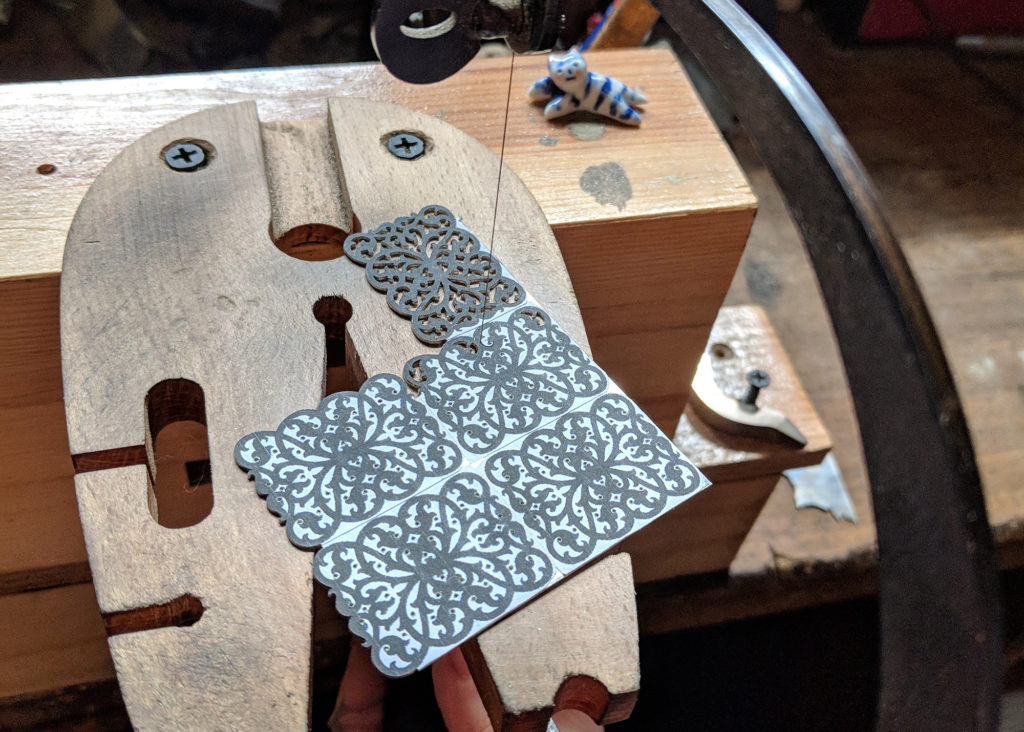
Are you learning how to saw pierce but you’re worried you’re missing something obvious? Here are some tricks, tips and saw piercing techniques I’ve picked up from over a decade of wielding a saw frame.
While teaching saw piercing workshops I’ve been asked many questions which range from incredibly insightful to downright silly. Regardless of how obvious the answer may seem they’ve all been great and helpful in one way or another. For this post I’d thought I’d address some of the most commonly asked questions about saw piercing. Hopefully the answers will provide some tricks and saw piercing techniques which will save you time, effort and frustration!
Note: if you’ve never done any saw piercing before it might be helpful to first read my post on how to start saw piercing.
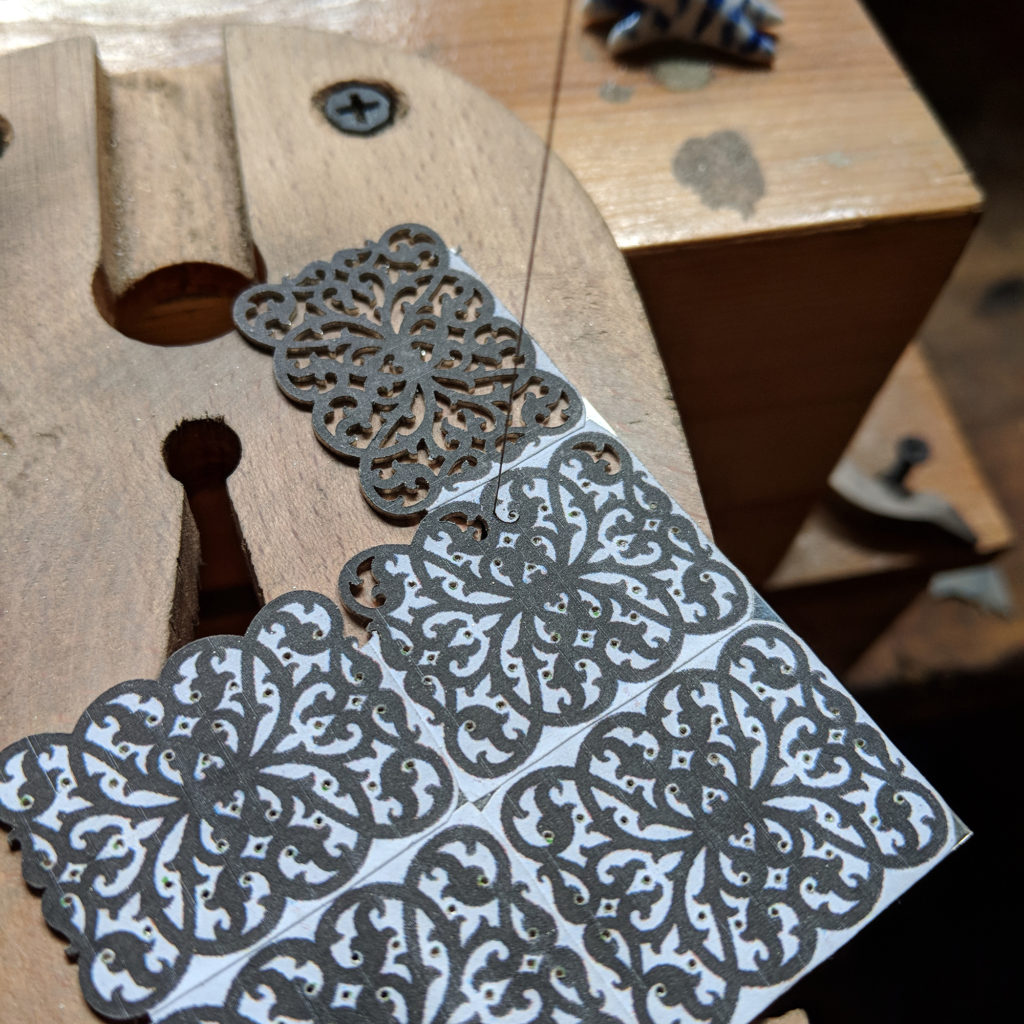
Print your design on sticker paper for a clear pattern to follow
Sticker paper
When I was first learning saw piercing I was told to use a glue stick to attach my paper design to the metal. Often half of it would come off while sawing and the rest was impossible to remove without acetone. It was a messy nightmare. I thought I’d take a shortcut and use sticker paper (postage labels work well) and haven’t looked back! It’s easy to draw or print your design on, stick directly to the metal and then just peel off when you’re done.
Start on a point
When deciding where to start cutting make it easy for yourself! If there is a point in your design start there, that way you will also be ending on a point and making the saw line match up perfectly is not so much of a concern. You should also make your drill hole close to this point so you don’t have far to go. Wherever possible give yourself at least a millimetre of space between the hole and your design so you can see what you’re doing and you don’t accidentally drill into the design.
If there is no point, saw at a right angle up to the line with the most open space around it, turn 90 degrees and follow the line. When you come back around to finish the cut it will be easier to match the lines because you’ve left yourself a nice block of material (rather than an acute angle).
Use the peg to steady your blade
The bench peg is your friend! It’s not just there to lean on, you can also use the wood to help steady your blade. When beginning a cut your blade can slip around, simply put your blade against the wood then bring the metal up to the blade where you want to cut it. By cutting the first few strokes into both the wood and metal, the blade will obey your commands. This principle also works for finishing a cut. When your sawblade suddenly meets no resistance it can jump forward and cut into your design. All you need to do is again lean your sawblade against the wood of the peg for the last millimetre of your cut and it’s got no where to jump!
Go from the inside out
So you have several different compartments in your design and you’re wondering where to start? If you work from the centre outward, you’ll always have the most possible material to work with. If you cut around the outside first you’ve immediately shrunk your piece of metal and made it all the more difficult to hold and manoeuvre. Of course you always want to keep the piece of metal smaller than the depth of your saw frame or you’re going to get stuck.
Check for broken blades
If your blade is getting blunt instantly, 9 times out of 10 it’s because there’s a tiny piece of broken blade from your last one stuck in your metal. It’s worth getting into the habit of checking for little shards every time you break a blade because it will save you time, money and irritation in the long run.
Leave the top of the blade locked
When loosening one end of the blade to move it from one compartment to another, I find it easier to release the bottom screw and leave the top alone. There are a few reasons for this; the first is that you will then be threading the blade through the top of your metal so you can see exactly which hole it’s going into. The second is that if you release one end of the blade while not holding the metal it’s going to slide off rather quickly and you’re much less likely to lose it if it’s slides towards rather than away from you. And finally, I just find it easier to loosen and tighten the bottom screw because it’s closer to me 😉
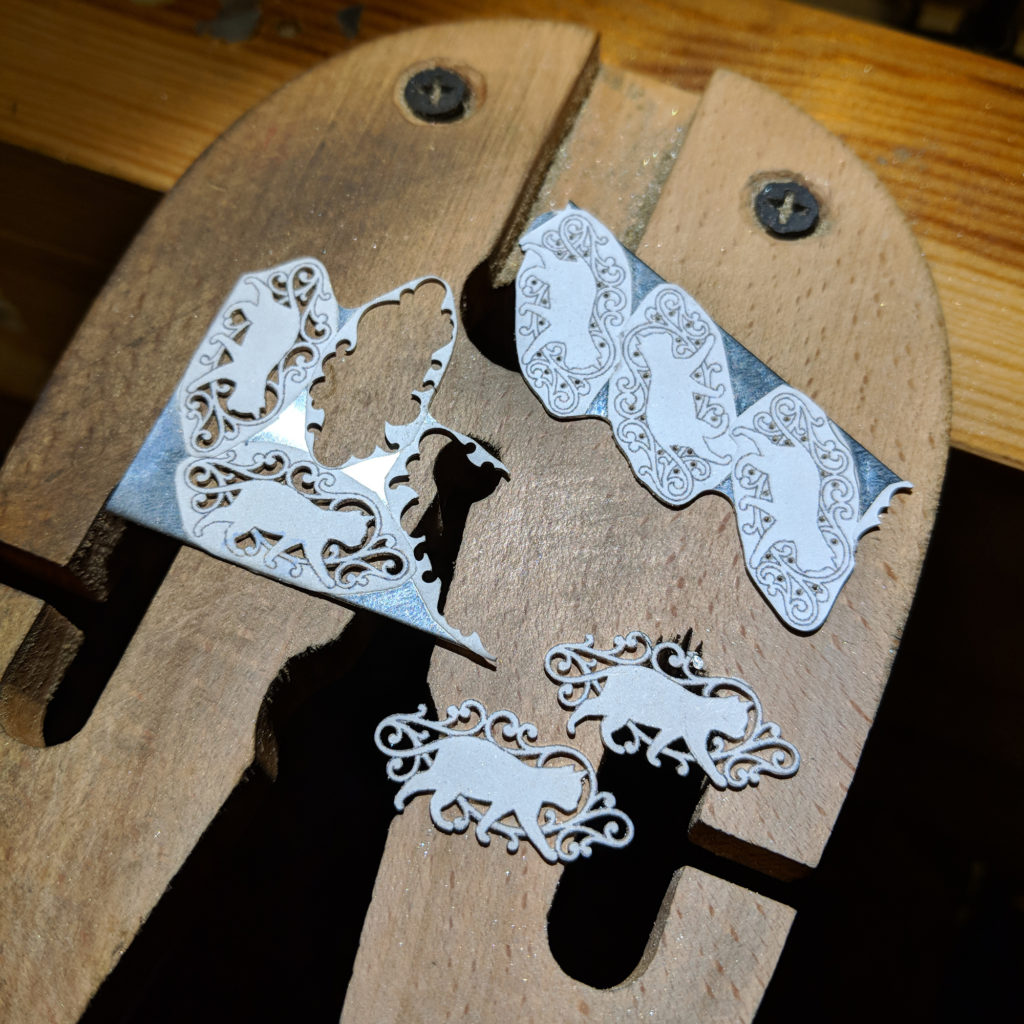
Cut from the inside out unless your piece is too big for your sawframe
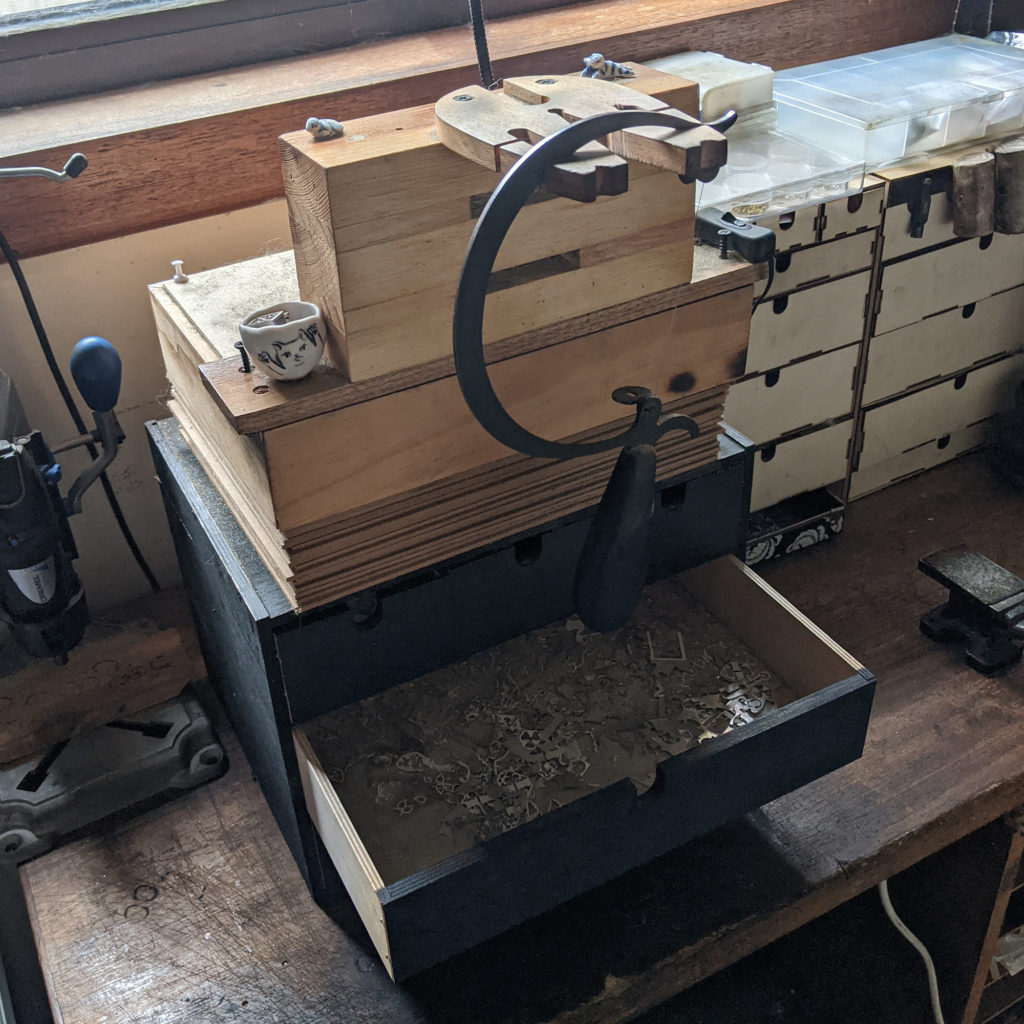
Make sure your setup makes you comfortable
Invest in the right set up
I could write for days on the subject of creating the right setup for your long term comfort but it’s going to be different for everyone. It’s probably going to be a case of trial and error to find what’s perfect for you but I have some suggestions to get you started. If you want to be sitting down, take the time to find a comfortable chair which forces you to sit upright and holds you at the correct height for your bench. For some this may mean a fancy office chair or kneeling chair. Either way if it’s adjustable that will probably help! I personally like to stand up while I’m sawing as this causes the least amount of back and neck strain and it’s easy to move around.
Catch your scraps
Particularly now when gold and silver are getting so expensive you don’t want to waste anything! With my standing setup I have a little drawer under my bench peg which I can open while saw piercing to catch all of my scraps. If you’re sitting down you could also suspend a bag or piece of fabric under your peg as long as it isn’t getting in your way. If you’re fortunate enough to have a jeweller’s bench it probably already comes equipped with a tray so make use of it!
Teeth direction
When you’re using sawblades as small as the ones I have it can be difficult to see the direction of the teeth. I usually just hold it up to the light to get a good look, but if that’s not enough you can run the edge of a piece of paper along the blade. You’ll know which way the teeth are pointing when they cut the paper. I’ve also seen people use their fingernails instead of paper which I do not recommend! There’s nothing worse than having little notches in your nails which catch on everything.
Give yourself a helping hand
Which direction should you saw in? This is a personal preference but as a general rule it’s easier to saw to the righthand side of the line if you’re right handed and to the left of the line if you’re left handed. It usually just feels more natural for your hand and eyes. So if you’re right handed you would be going counter clockwise around the outside of your design and clockwise around any compartments inside your design.
Design with the final structure in mind
Remember to think about what it’s going to be like cutting out your design while you’re creating it. Chances are if it’s difficult to cut out because there lots of protruding elements surrounded by empty space which are liable to bend while cutting, it probably isn’t particularly structurally sound. Make sure there are enough connecting points within your design to make it easy to cut and give it strength.
Cut in the direction that works for you
I’ve said it before and I’ll probably say it a thousand times more; patience is everything. If you can master that (which saw piercing will help you learn) then picking up the saw frame will bring nothing but joy!…Most days.
If you want to practice your newly acquired skills check out the tutorial below:


Hello! Do you have any advice for drilling the initial holes? My dill bits break so quickly and easily that I’m sure I’m doing something wrong.